weblogic复现之weak_password
前言
这是我第一次复现漏洞,从网上找了很多资料,基于vulhub中的weblogic的weak_password漏洞。这次顺便把漏洞复现的过程也写一下。
漏洞复现
Docker安装(Ubuntu 16.04)
vulhub安装
环境部署
进入weblogic中的weak_password环境目录
cd vulhub-master/weblogic/weak_password构建服务
sudo docker-compose build启动环境
sudo docker-compose up -d进入网址,查看是否部署成功
http://your-ip:7001/console本环境弱口令账号密码为
- 账号: weblogic
- 密码: Oracle@123
weak_password
Weblogic常见弱口令总结
- system:password
- weblogic:weblogic
- admin:secruity
- joe:password
- mary:password
- system:sercurity
- wlcsystem:wlcsystem
- weblogic:Oracle@123
Burpsuite爆破
访问后台登录地址,输入任意账号密码,Burpsuite抓包
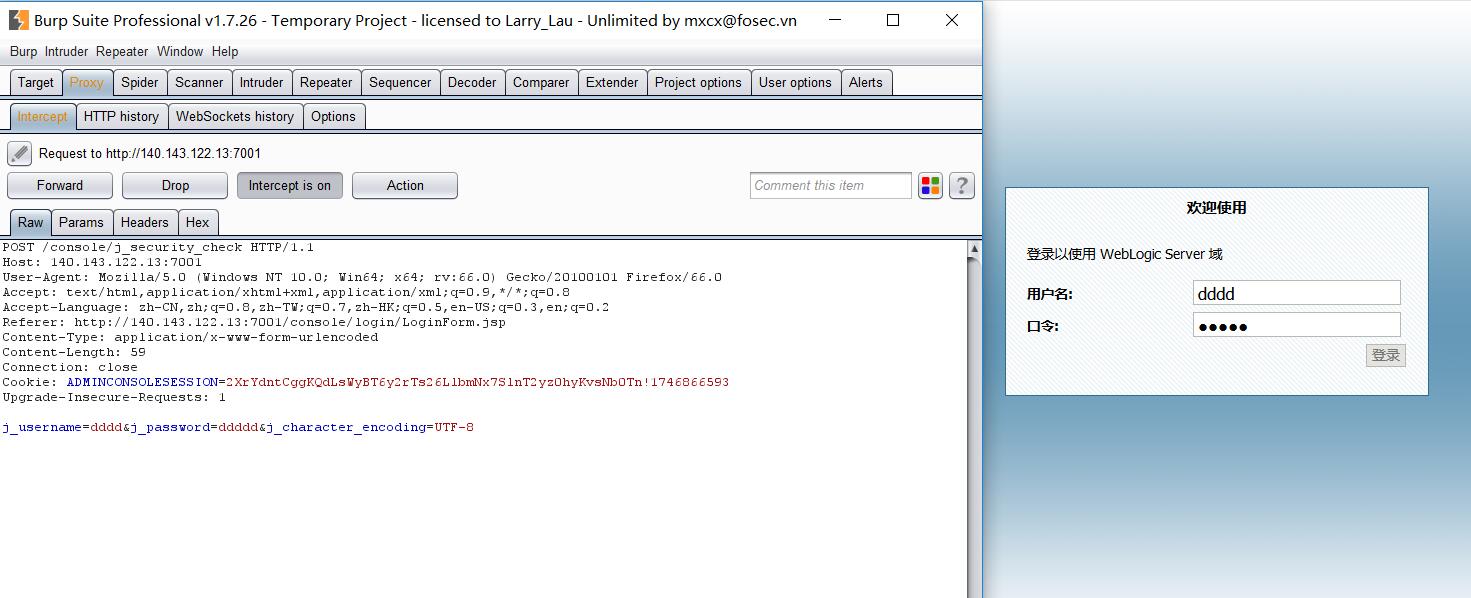
点击右键,将其转发到Intruder模块下,设置数据
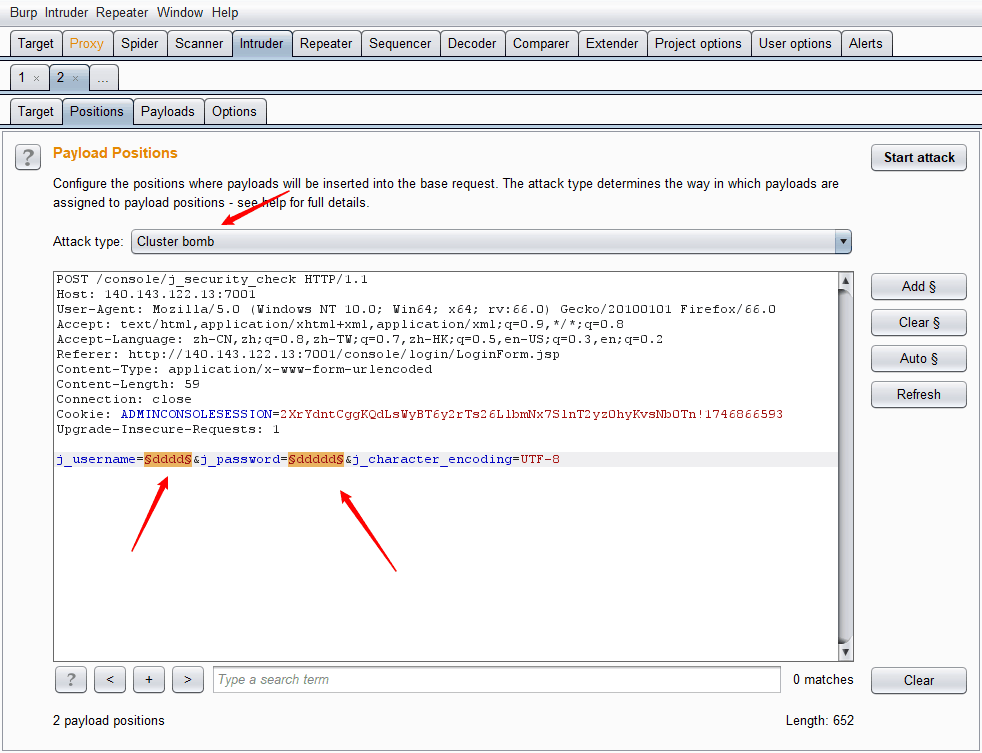
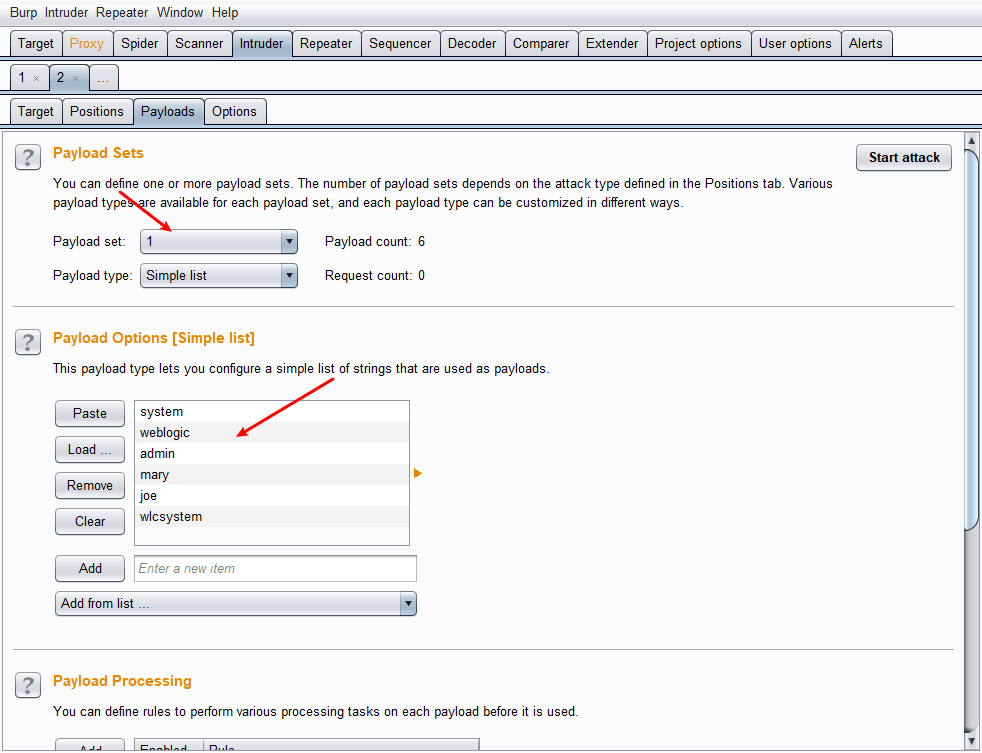
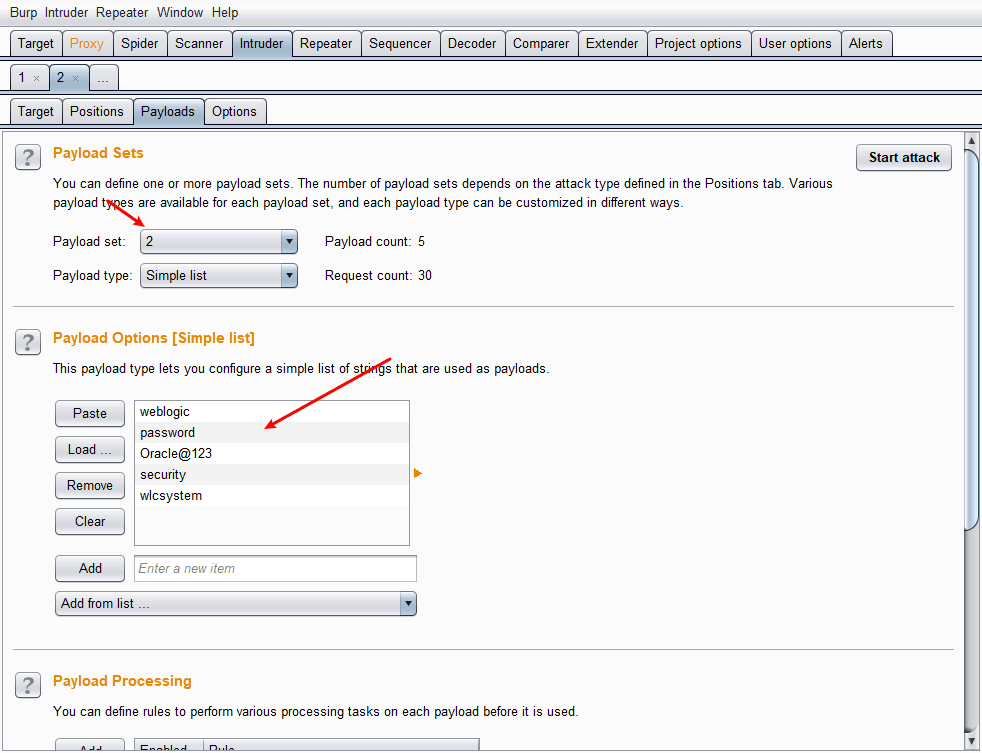
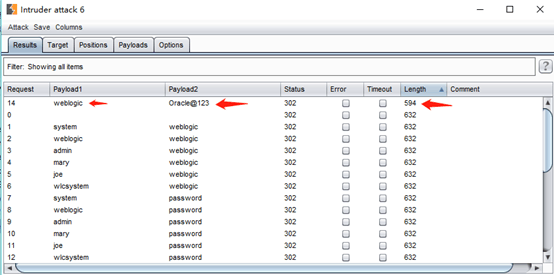
开始爆破
Python脚本爆破
Python小脚本的暴力破解思路和前面BurpSuite下的Intruder下的破解思路是一样的,换汤不换药。
脚本如下:
1 | import requests |
配合任意文件下载/读取漏洞来破解密码
如果没有弱口令漏洞怎么办呢?
刚巧,这个环境下存在一个任意文件下载漏洞。
漏洞地址:
http://your-ip:7001/hello/file.jsp?path=
读取后台用户密文与密钥文件
Weblogic密码使用AES(老版本3DES)加密,对称加密可解密,只需要找到用户的密文与加密时的密钥即可。
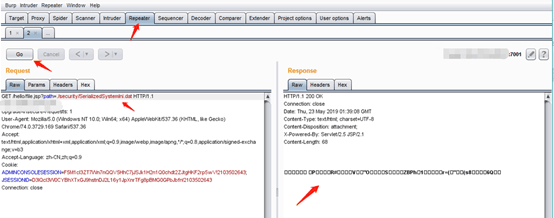
这两个文件均位于base_domain下,名为SerializedSystemIni.dat和config.xml,在本环境中为./security/SerializedSystemIni.dat和./config/config.xml文件中。
Burpsuite抓包,在路径path后面输入,./security/SerializedSystemIni.dat 路径,成功拦截到包,将其转发到Repeater模块下,点击Go按钮,来读取加密密钥,返回包是一串数据,如图:
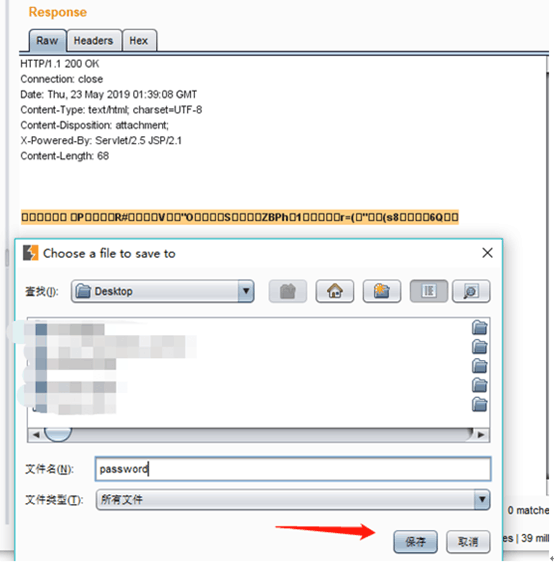
现在我们将这串数据保存在本地,选中数据,点击鼠标右键,点击copy to file,选择保存路径(记住这个路径),点击保存,如图:
此时,加密密钥我们已经保存下来了,接下来,要寻找加密的密码了,它在 ./config/config.xml文件下的
标签下,如图: 
使用工具对后台密码进行破解
现在,我们打开破解工具,具体位置上面已说到,文件处即为我们刚才保存的文件,密文即为./config/config.xml文件下的
标签中的内容,全部输入完成后,点击确定,开始破解。 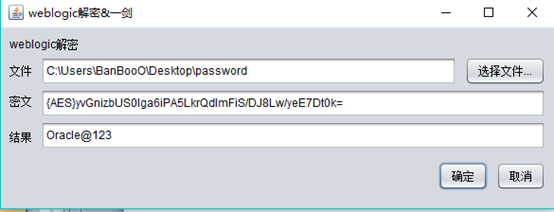
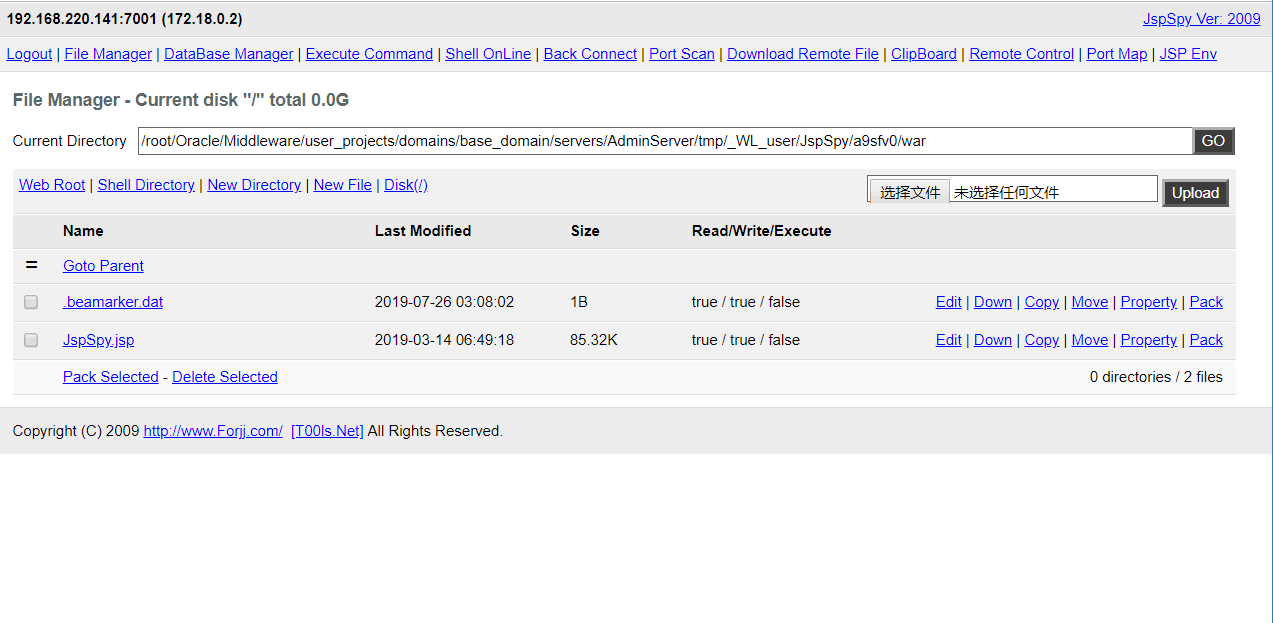
上传shell
- 制作war包
将webshell压缩成zip格式,修改后缀名为war即可
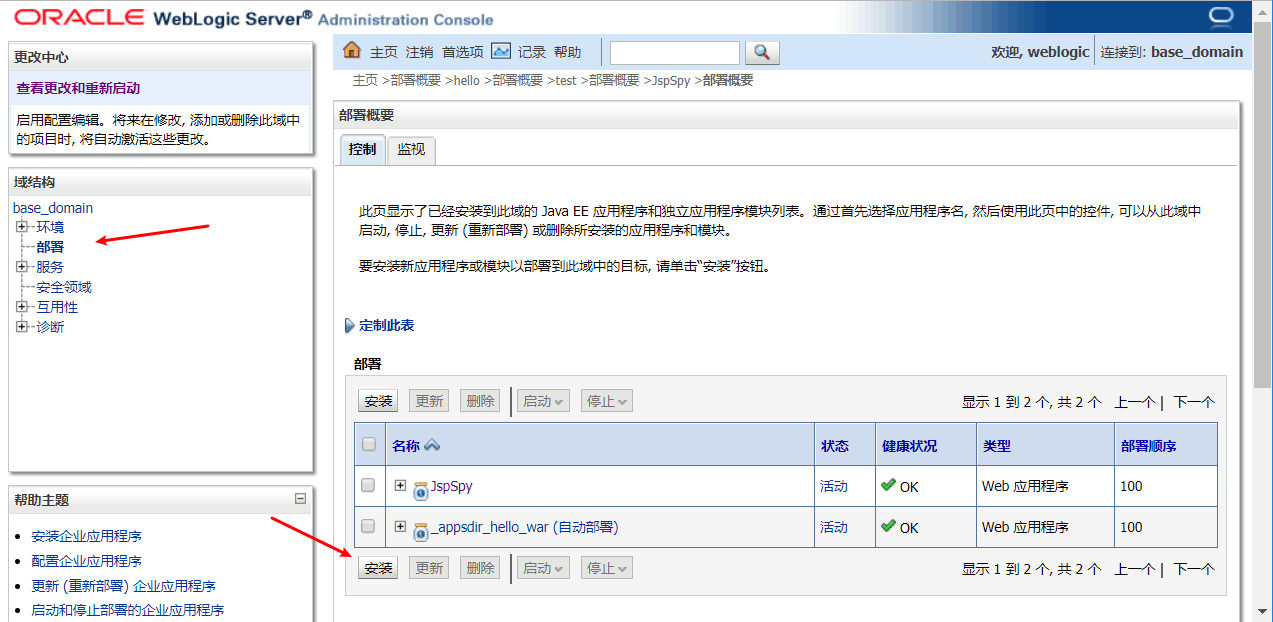
- 上传war包
点击“部署”,“安装”
上载文件
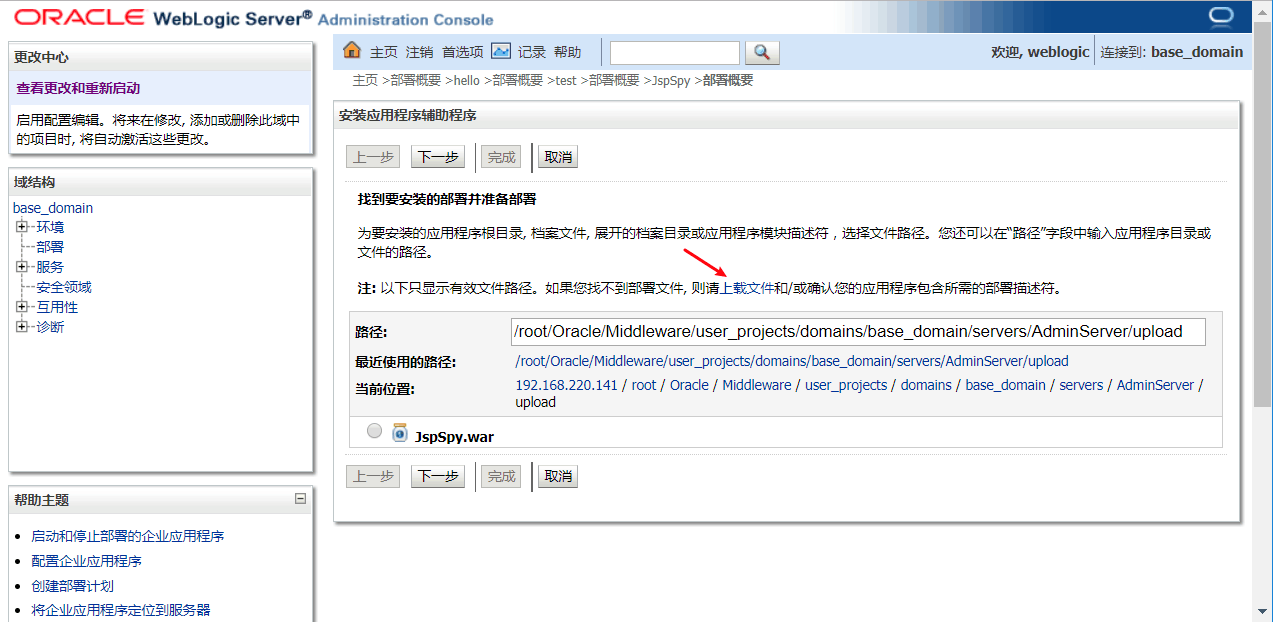
选择文件,下一步
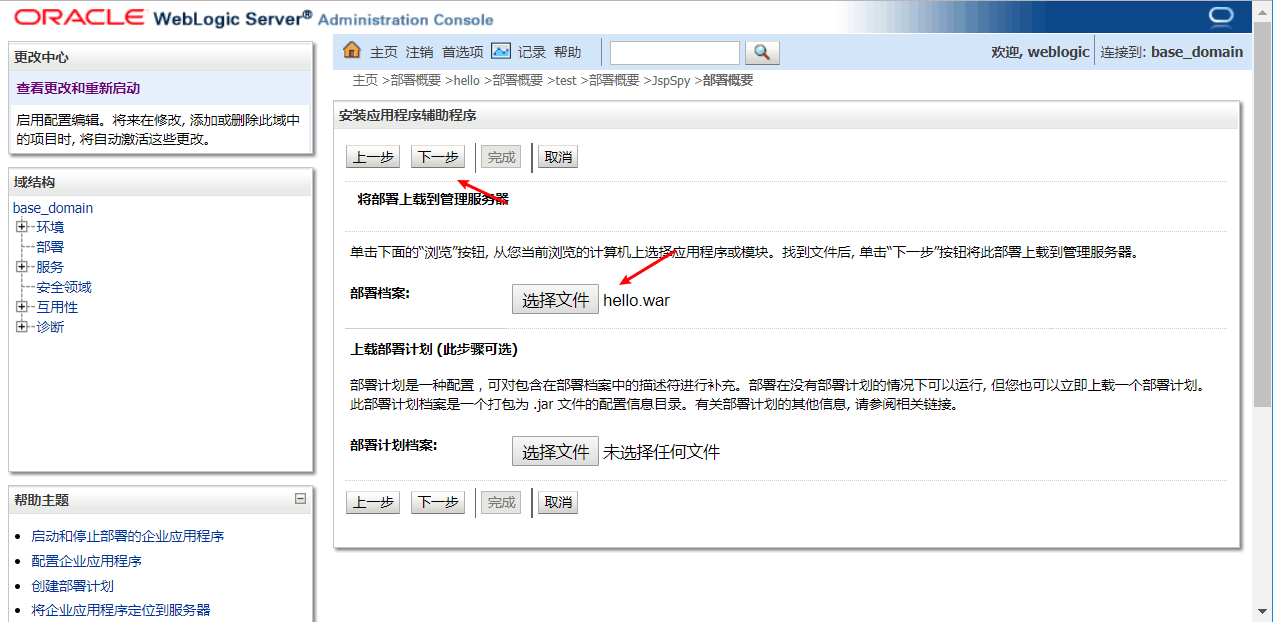
下一步,“将此部署安装为应用程序”
命名
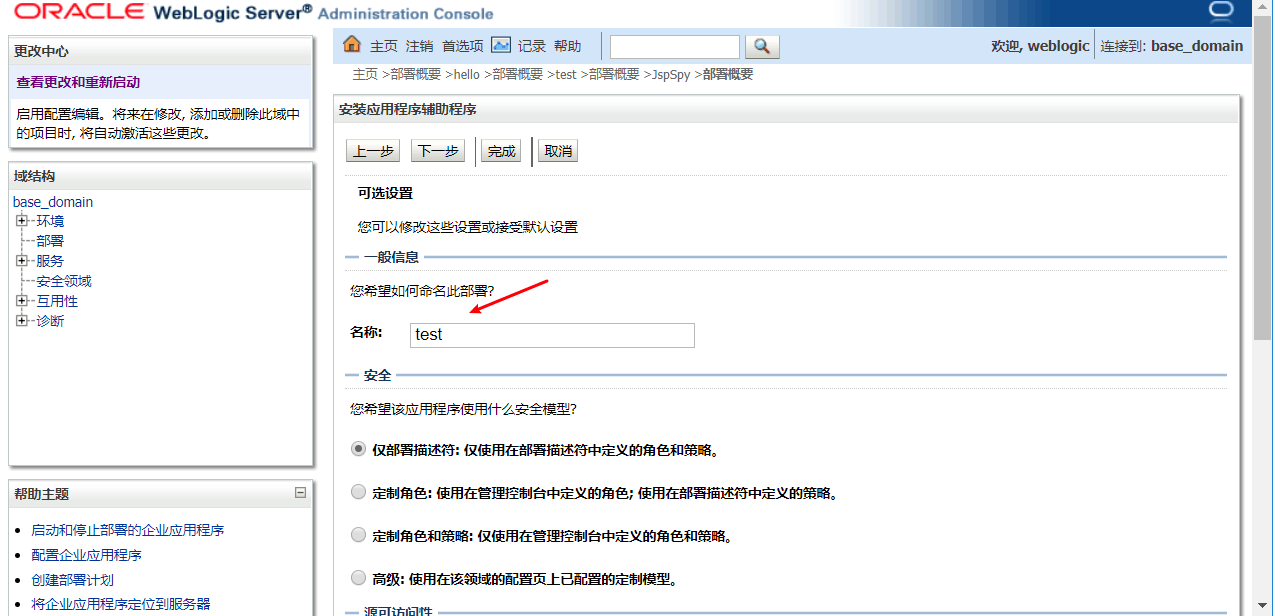
下一步,完成,保存
- get shell